前言
以前用Django开发应用,自己用。所以直接跑在debug模式下。最近开发了一个系统,打算上线。记录一下线上发布过程。
Django配置
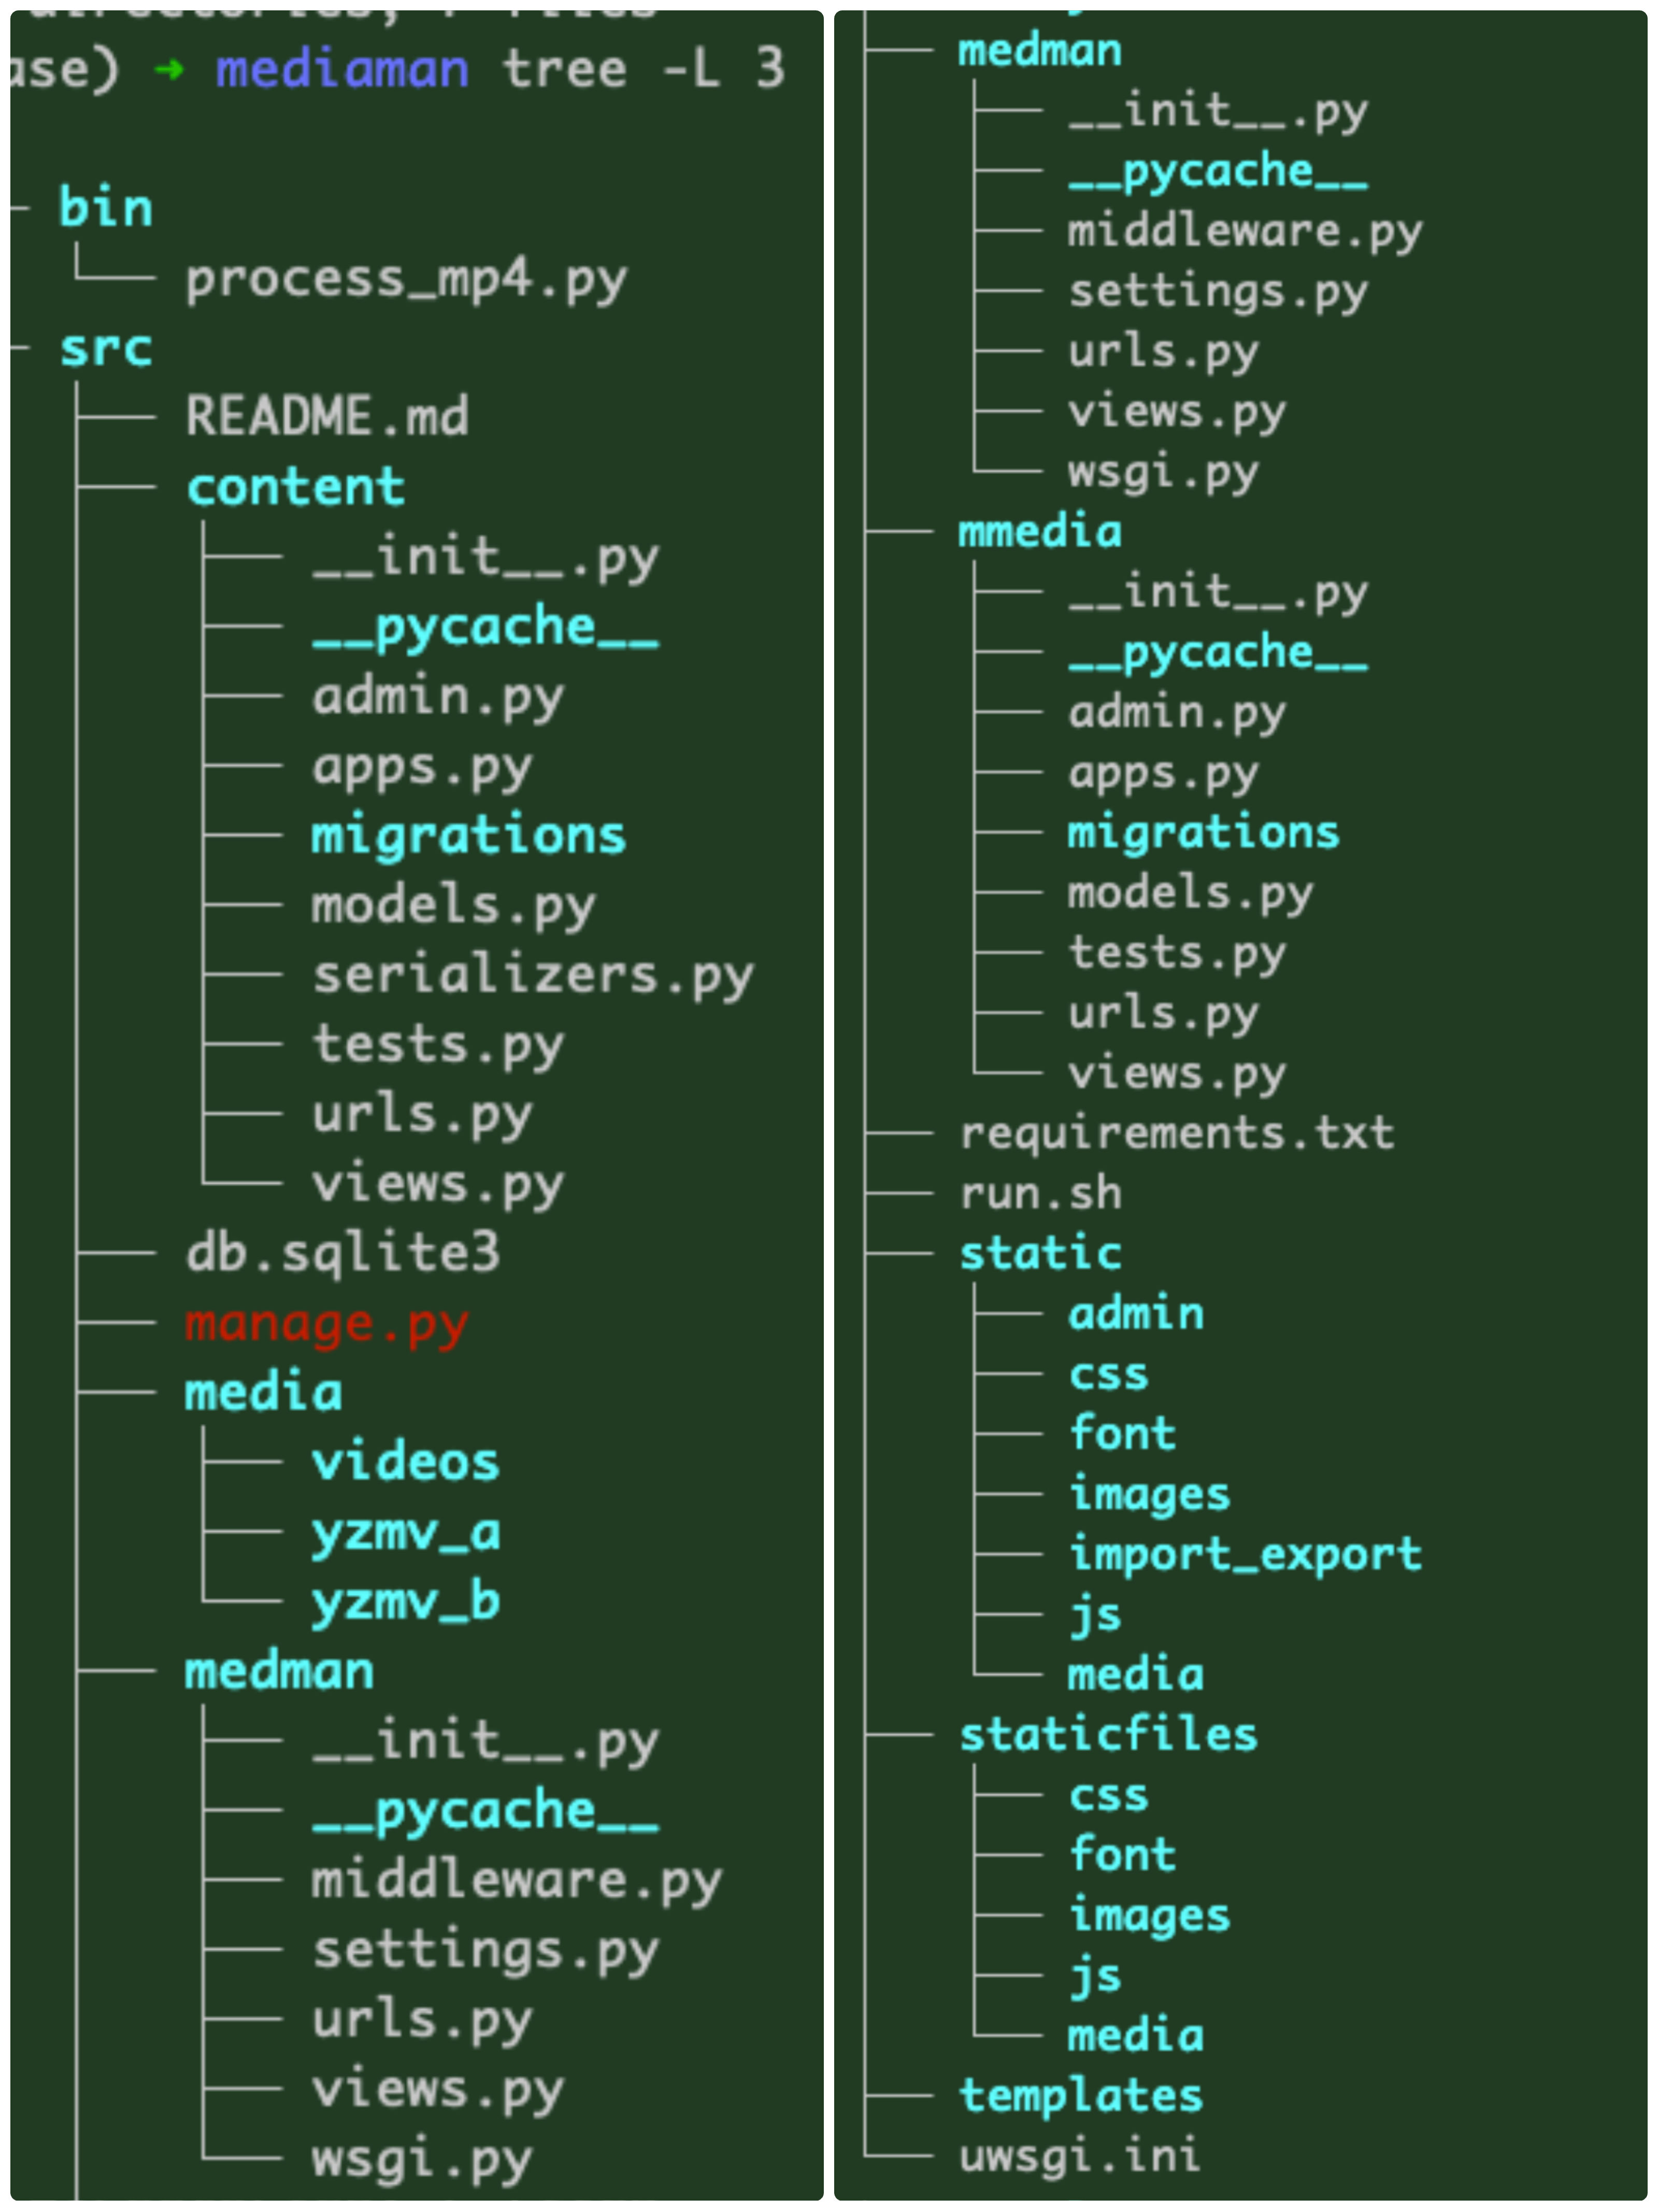
Django项目中settings.py的配置
STATIC_URL = '/static/'
# 开发阶段放置项目自己的静态文件
STATICFILES_DIRS = (
os.path.join(BASE_DIR, 'staticfiles'),
)
# 执行collectstatic命令后会将项目中的静态文件收集到该目录下面来(所以不应该在该目录下面放置自己的一些静态文件,因为会覆盖掉)
STATIC_ROOT = os.path.join(BASE_DIR, 'static')
- 在开发阶段,Django把/static 映射到django.contrib.staticfiles这个App。
- staticfiles自动地从STATICFILES_DIRS、STATIC_ROOT以及各个App的static子目录里面搜索静态文件。
- 一旦布署到开发环境上,settings.py不需要重新编写,只要在Nginx的配置文件里面写好映射,/static将会被Nginx处理。
- django.contrib.staticfiles虽然仍然存在,但因为不会接收到以/static/开始的路径,所以将不会产生作用。不必担心Django会使用处理速度变慢。
- 当settings.DEBUG is False的时候,staticfiles将自动关闭。
收集静态资源
在上线之前收集静态资源
python manage.py collectstatic
uwsgi启动
线上利用uwsgi启动服务
安装
pip install -i https://mirrors.aliyun.com/pypi/simple/ uwsgi
配置
修改项目目录下的uwsgi.ini,可以根据硬件配置调整
# uwsgi.ini file
[uwsgi]

# Django-related settings
socket = :8001                          # 这个用于nginx的转发配置
http = 0:8000                            # 用于提供http服务
# the base directory (full path)
chdir = /myapp     #django工程路径

# Django s wsgi file
module = abmanger.wsgi       # abmanger为django工程名

# process-related settings
master = true

# maximum number of worker processes
processes = 1

#maximum number of worker threads
threads = 2
# try to remove all of the generated file/sockets
vacuum = true
手动启动
uwsgi --ini uwsgi.ini
nginx配置
server {
    listen     80;
    server_name  abm.mytest.com;

    access_log /www/web_logs/abm_access.log wwwlogs;
    error_log  /www/web_logs/abm_error.log  notice;

    add_header X-Content-Type-Options nosniff;
    add_header X-XSS-Protection "1; mode=block";
    add_header Strict-Transport-Security "max-age=63072000; includeSubdomains; preload";

    location / {
           include uwsgi_params;
            uwsgi_pass python:8001;
            uwsgi_read_timeout 15;
    }

    location /static {
            expires 30d;
            autoindex on;
            add_header Cache-Control private;
            alias /www/web/static;
    }
}


评论 (0)