


搜索到
6
篇与
的结果
-
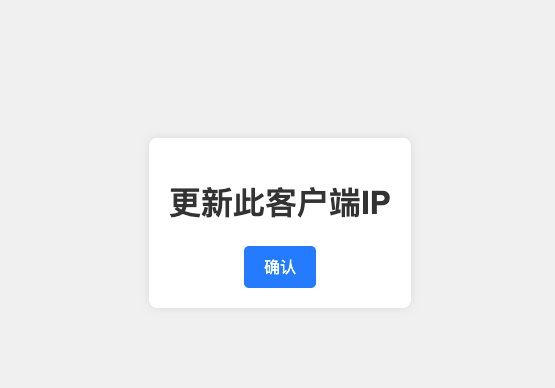
 新客户端IP一键过白功能开发与配置 前言部署了一个自己使用的web服务,不想对公网开放。最初用iptables对自己当前的电脑IP开放,禁止其他IP访问。每次路由器重启,或者在外出差,IP经常变动。需要登录服务器,新增新的IP。决定改变控制方式,利用nginx的IP白名单功能,同时用flask写了一个对公网开放的页面。当地址变动时,访问此页面。点击一键更新,就把最新的ip加入到nginx的白名单。同时重新加载nginx配置生效。{card-default label="ip更新页面" width="85%"}{/card-default}被控制服务需要进行ip访问控制,不对公网开放的nginx配置信息。default.conf配置用加载了ip白名单文件whitelist.conf# Appadmin server { listen 80; server_name 0.0.0.0; root /www/web/maccms_v10/; server_tokens off; #include none.conf; index index.php index.html index.htm; access_log /www/web_logs/wp_access.log wwwlogs; error_log /www/web_logs/wp_error.log notice; #auth_basic "请输入用户和密码"; # 验证时的提示信息 #auth_basic_user_file /etc/nginx/password; # 认证文件 location /{ include whitelist.conf; #默认位置路径为/etc/nginx/ 下, #如直接写include whitelist.conf,则只需要在/etc/nginx目录下创建whitelist.conf deny all; } location ~ \.php$ { fastcgi_pass php:9000; fastcgi_index index.php; include fcgi.conf; } #需要注意伪静态的配置 if (!-e $request_filename) { rewrite ^/index.php(.*)$ /index.php?s=$1 last; rewrite ^/api.php(.*)$ /api.php?s=$1 last; rewrite ^/adm0.php(.*)$ /adm0.php?s=$1 last; rewrite ^(.*)$ /index.php?s=$1 last; break; } location ~ .*\.(gif|jpg|jpeg|png|bmp|swf)$ { expires 30d; } location ~ .*\.(js|css)?$ { expires 12h; } }whitelist.conf文件内存放需要开放的IP,文件内容:allow 101.31.158.153;控制服务文章开头的一键放通页面用flask框架实现, 单独部署app.py主要实现逻辑,有两个接口。一个接口提供页面,一个接口负责获取IP后更新,同时重新加载被控制服务的nginx配置隐藏内容,请前往内页查看详情index.html提供文章开头的一键更新功能的页面代码<!DOCTYPE html> <html lang="en"> <head> <meta charset="UTF-8"> <meta name="viewport" content="width=device-width, initial-scale=1.0"> <title>IP 过白</title> <link rel="stylesheet" href="styles.css"> <!-- Link to external CSS file --> <script src="https://code.jquery.com/jquery-3.6.0.min.js"></script> <style> body { font-family: Arial, sans-serif; display: flex; justify-content: center; align-items: center; height: 100vh; background-color: #f0f0f0; margin: 0; } .container { text-align: center; background-color: #fff; padding: 20px; border-radius: 8px; box-shadow: 0 0 10px rgba(0, 0, 0, 0.1); } h1 { color: #333; } #uploadBtn { background-color: #007bff; color: #fff; border: none; padding: 10px 20px; border-radius: 5px; cursor: pointer; font-size: 16px; transition: background-color 0.3s ease; } #uploadBtn:hover { background-color: #0056b3; } #uploadBtn:focus { outline: none; } </style> </head> <body> <div class="container"> <h1>更新此客户端IP</h1> <button id="uploadBtn">确认</button> </div> <script> $(document).ready(function() { $('#uploadBtn').click(function() { $.ajax({ type: 'POST', url: '/upload_ip', success: function(response) { if (response.status === 'success') { alert('IP 更新成功: ' + response.ip); ('Error: ' + response.message); } }, error: function() { alert('发生错误.'); } }); }); }); </script> </body> </html>服务启动控制服务通过systemd加载,配置文件为:/etc/systemd/system/ipallow.service。配置内容为[Unit] Description=IpAllow App [Service] User=root WorkingDirectory=/opt/ipallow ExecStart=/usr/local/bin/gunicorn -w 2 -b 0.0.0.0:801 app:app Restart=always [Install] WantedBy=multi-user.targetcaddy代理控制服务启动了服务器的801端口,通道caddy2代理到443,然后通过公网可访问。不用nginx代理的原因是控制服务会重启nginx,导致前端页面在等待返回结构时异常。b.test.xyz:443 { tls service@test.xyz encode gzip log { output file /logs/access.log } header / { Strict-Transport-Security "max-age=31536000;includeSubdomains;preload" } #访问认证 basicauth / { cms $2a$14$bNLxxxxxxxxxxxxxxxxxxxxxxGAbzyOUyoBn1rjfpN/O } ## HTTP 代理配置 reverse_proxy http://192.168.0.203:801 { header_up X-Real-IP {http.request.remote.host} header_up X-Forwarded-For {http.request.remote.host} header_up X-Forwarded-Port {http.request.port} header_up X-Forwarded-Proto {http.request.scheme} } }caddy认证密码生产caddy的认证密码caddy hash-password --plaintext 'cmsxxxx'
 -
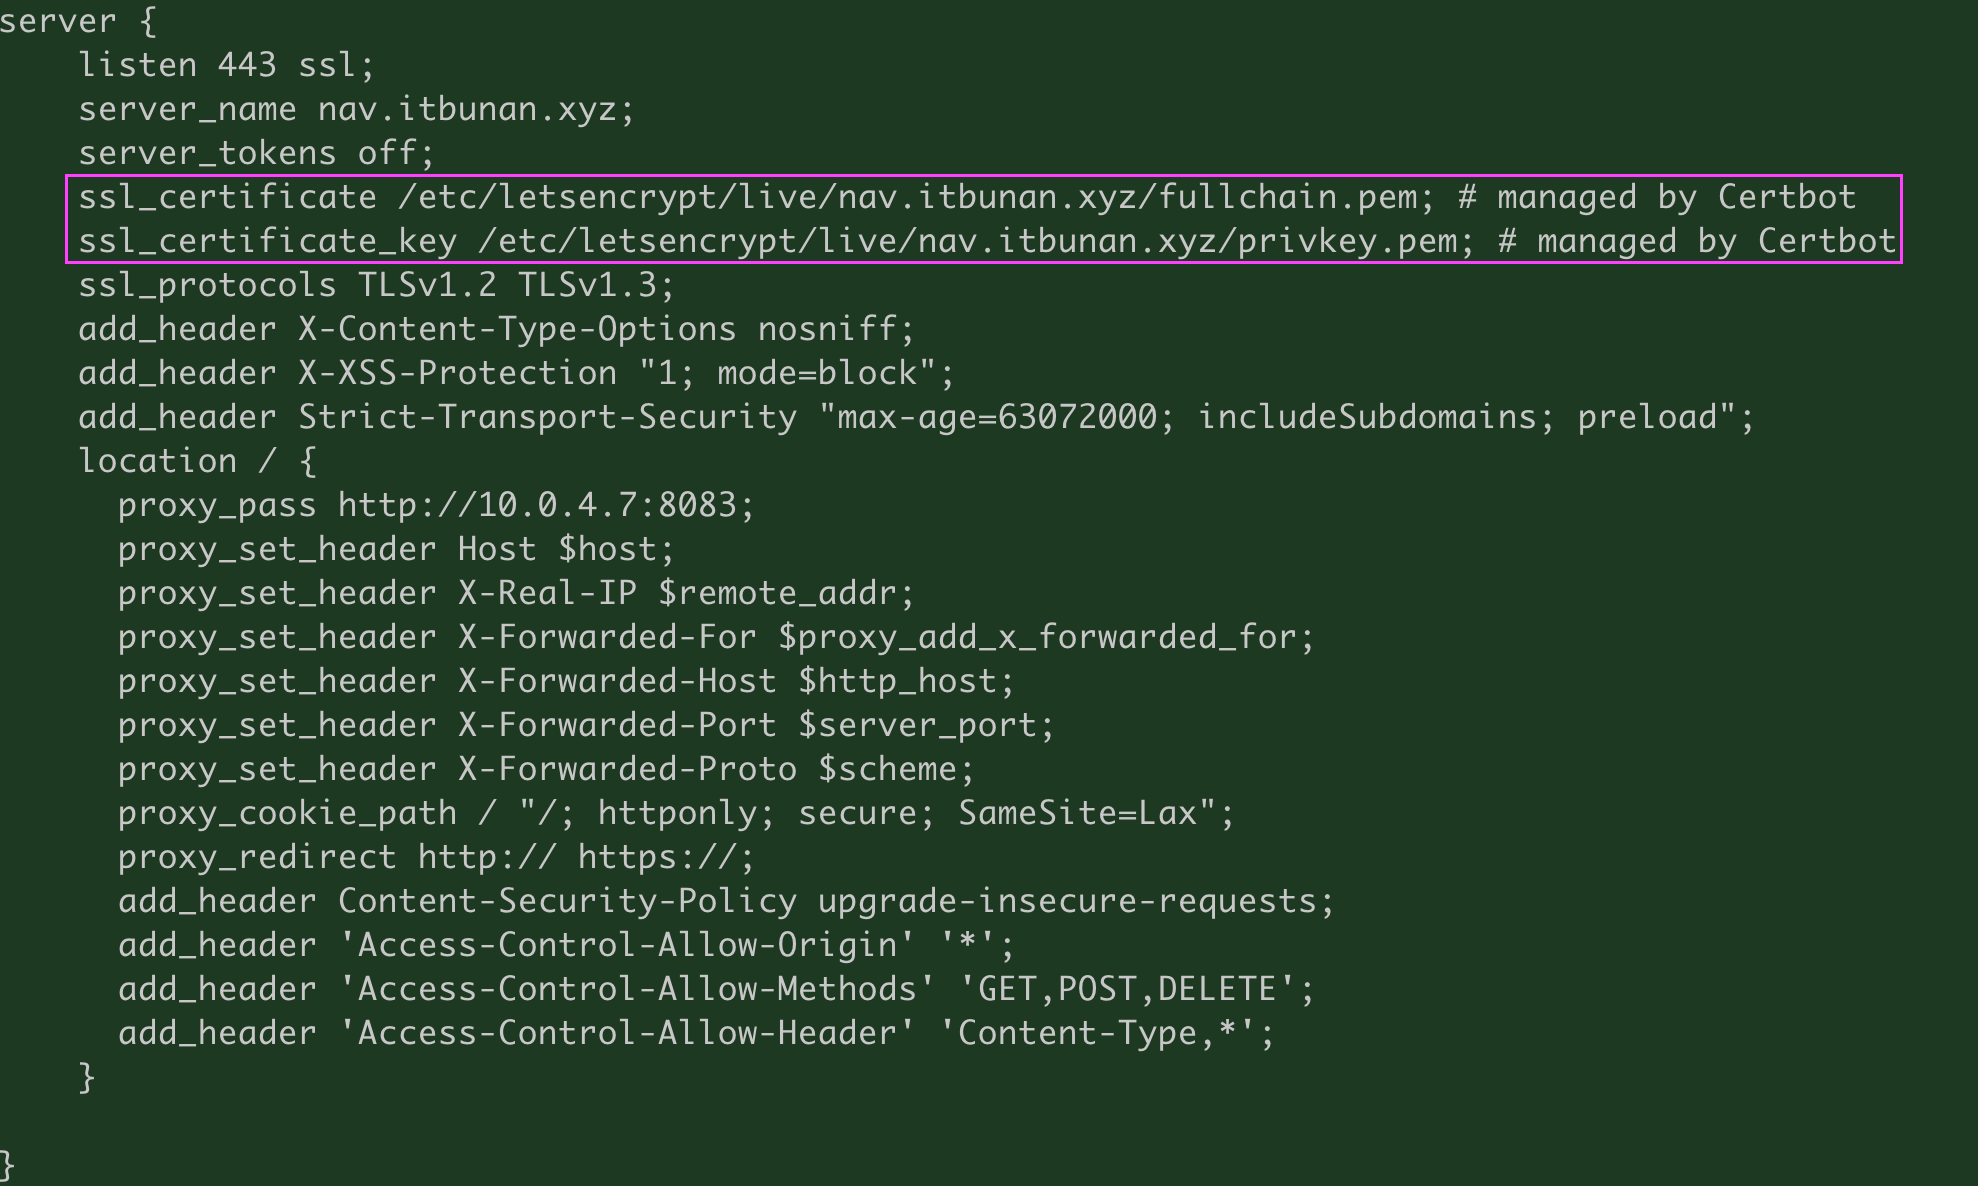
nginx自动申请ssl证书 前沿腾讯云或者阿里云后台申请的ssl证书,有一定的时间限制。到期后,还得手动部署,免费的无法自动续签。近期博主自己的网站又有一批证书快过期了。打算一次行解决这个问题。软件安装yum install certbot yum install python-certbot-nginx申请证书以nav.itbunan.xyz 举例certbot --nginx -d nav.itbunan.xyz验证配置是否生效打开/etc/nginx/conf.d/proxy.conf 查看相关配置{card-default label="证书配置" width="75%"}{/card-default}自动续期通过计划任务,自动检查证书期限,并实现自动续期0 12 * * * /usr/bin/certbot renew --quiet
-
-
-
-