搜索到
38
篇与
的结果
-
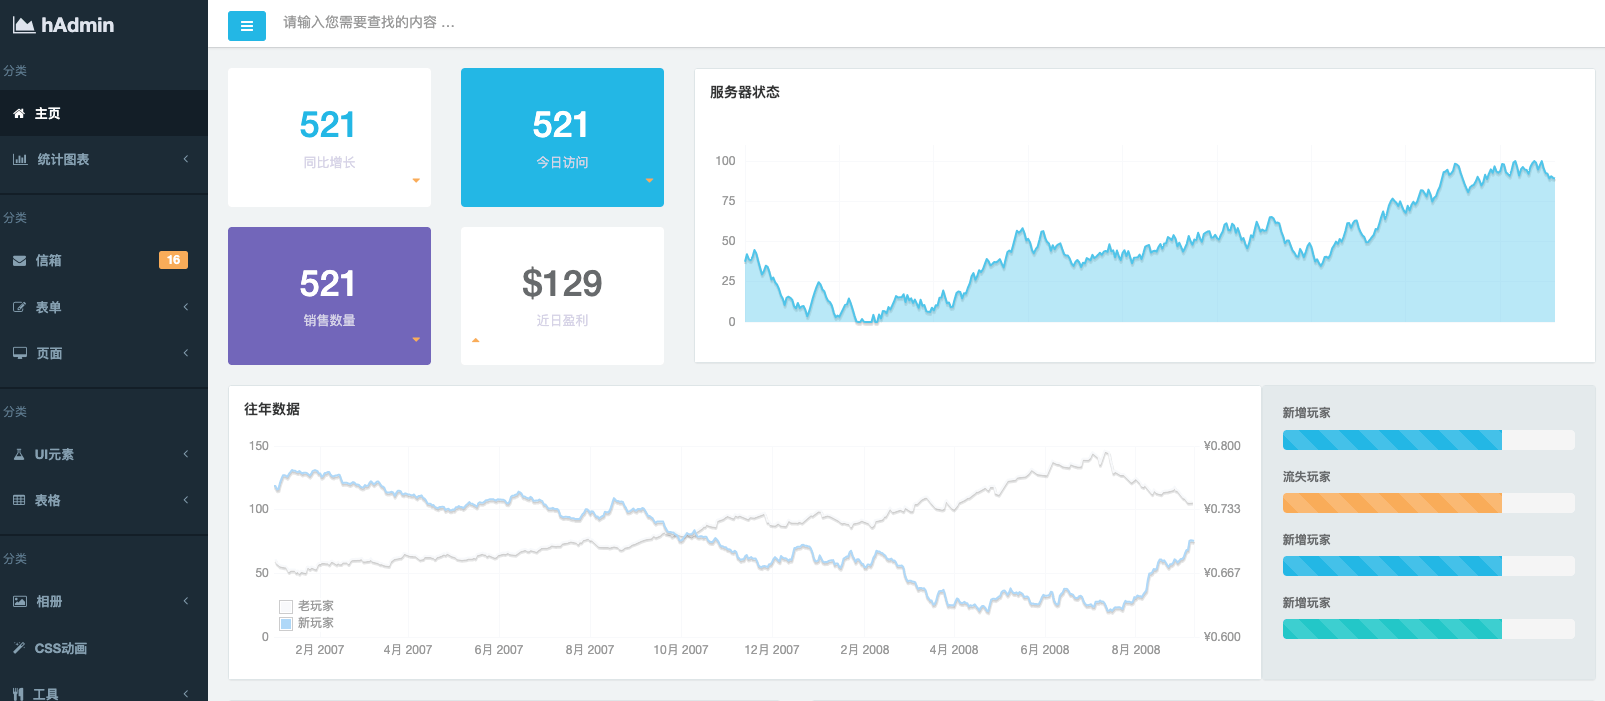
 用deepseek,我花一天手撸了一个自媒体管理平台 前言最近有一段时间事情不多,打算好好做一下自媒体方向。把自己平时积累的技术文档整理整理,然后发到各个平台。同时测试一下那种形式更熟欢迎,所以有做图文和视频内容。各个平台的账号也有多个,为了保证内容垂直度,不同的内容发在不同的账号下。自己替换下来的旧手机设备也有四五台。结果问题来了,每天在不同设备,不同账号之间切来切去。制作好的内容,过几天也记不得是不是发过,又烦又乱。就打算写一个系统,将设备,多媒体账号和内容管理起来。设计思路一台手机设备对应一到两个手机号,是一对多的关系。一个多媒体账号需要一个手机号,一个手机号可以注册多个平台。一篇内容可以发到多个平台上,没发一次生成一个发布记录。代码实现直接问deepseek,怎么写。我对django框架比较熟悉,所以实现就用django实现{card-default label="代码目录" width="80%"}{/card-default}模型设计让deepseek帮我设计模型。{card-default label="模型" width="80%"}{/card-default}数据展示数据模型设计完成之后,后台需要展示数据。还是问deepseek。{card-default label="展示" width="80%"}{/card-default}报错处理遇到程序提示错误,直接把错误提交给deepseek,让它给出解决方案。{card-default label="调试" width="80%"}{/card-default}系统展示就是一直问deepseek,经过一天的时间,大功告成。功能正常,界面如下。{card-default label="首页" width="80%"}{/card-default}{card-default label="设备列表" width="80%"}{/card-default}{card-default label="号码管理" width="80%"}{/card-default}{card-default label="媒体管理" width="80%"}{/card-default}{card-default label="内容管理" width="80%"}{/card-default}{card-default label="发布记录" width="80%"}{/card-default}小节最后看一下关于整个系统代码完成后,deepseek的api的消耗情况。用量3.25+我的一天时间,就是全部成本。这么看来,deepseek确实提高了我的工作效率。
 -

-

-

-

-

-

-

-
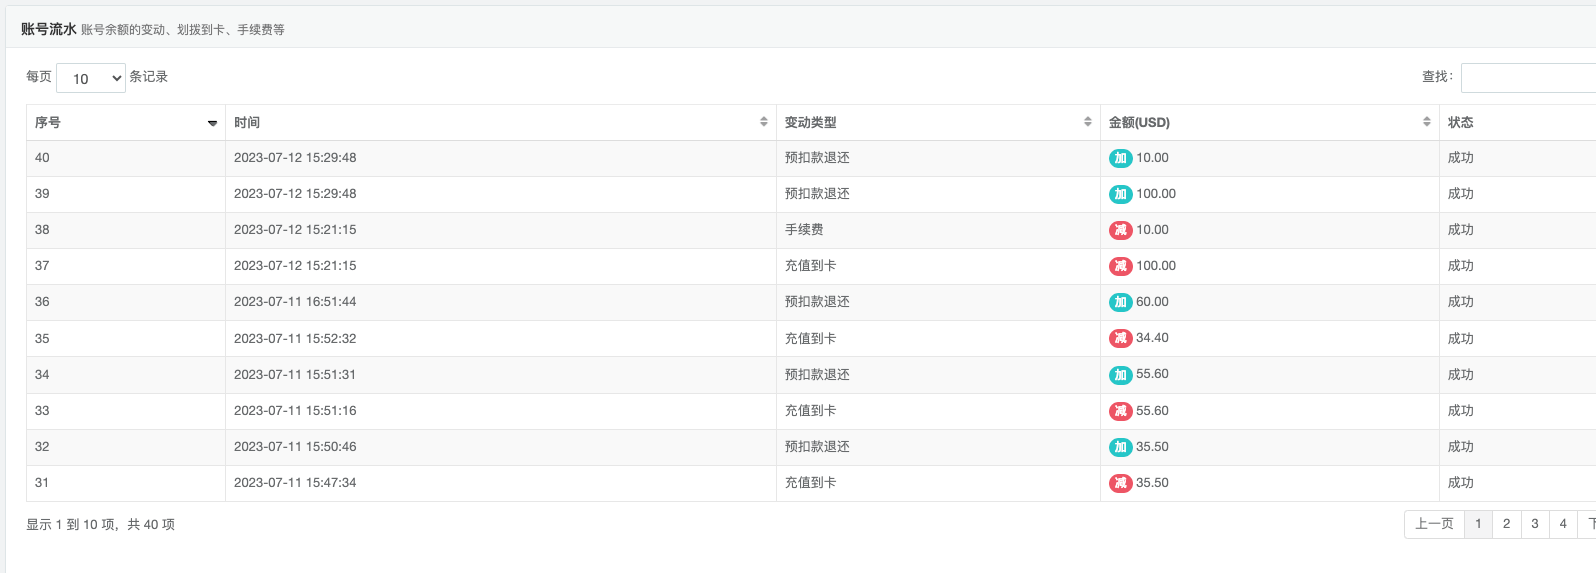
 利用Django和hAdmin快速开发管理系统(二) 前言上篇文章分享了如何创建登录页,登录页实际是一个表单提交的过程。本文分享信息的展示,也就是table。拿其中账号余额的变动页面作为示例。{card-default label="交易记录展示" width="80%"}{/card-default}过程去数据库中查找信息,返回给前端模板渲染路由配置customer目录下的urls.py中配置from django.conf.urls import url from customer import views urlpatterns = [ url(r'^login/$', views.customer_login, name='customer'), #登录 url(r'^usertrans/$', views.customer_user_transaction, name='customer'), #账号交易记录 ]模板渲染模板渲染函数写在目录下的views.py内@login_required(login_url='/customer/login/') def customer_user_transaction(request): """ 账号交易记录 """ user = request.user blancerecords = BalanceRecord.objects.filter(owner=user).all() content = { 'user':user, 'records': blancerecords, 'recard_types': RECORDB_TYPES, 'recard_status': R_STATUS_CHOICES, } return render(request, 'usertrans.html', content)html模板html模板主要用来调整样式,展示数据{% load static %} <!DOCTYPE html> <html> <head> <meta charset="utf-8"> <meta name="viewport" content="width=device-width, initial-scale=1.0"> <title> - 交易查询</title> <meta name="keywords" content=""> <meta name="description" content=""> <link rel="shortcut icon" href="{% static 'favicon.ico' %}"> <link href="{% static 'css/bootstrap.min.css' %}" rel="stylesheet"> <link href="{% static 'css/font-awesome.css' %}" rel="stylesheet"> <link href="{% static 'css/animate.css' %}" rel="stylesheet"> <link href="{% static 'css/style.css' %}" rel="stylesheet"> <!-- Data Tables --> <link href="{% static 'css/plugins/dataTables/dataTables.bootstrap.css' %}" rel="stylesheet"> </head> <body class="gray-bg"> <div class="wrapper wrapper-content animated fadeInRight"> <div class="row"> <div class="col-sm-12"> <div class="ibox float-e-margins"> <div class="ibox-title"> <h5>账号流水 <small>账号余额的变动、划拨到卡、手续费等</small></h5> </div> <div class="ibox-content"> <table class="table table-striped table-bordered table-hover dataTables-example"> <thead> <tr> <th>序号</th> <th>时间</th> <th>变动类型</th> <th>金额(USD)</th> <th>状态</th> </tr> </thead> <tbody> {% for record in records %} <tr class="{% cycle 'gradeX' 'gradeC' %}"> <td>{{ forloop.counter }}</td> <td>{{ record.created_at }}</td> <td class="center"> {% for choice in recard_types %} {% if record.record_type == choice.0 %} {{ choice.1 }} {% endif %} {% endfor %} </td> <td class="center"> {% if record.record_type < 6 %} <span class="badge badge-info">加</span> {% else %} <span class="badge badge-danger">减</span> {% endif %} {{ record.amount }} </td> <td class="center"> {% for choice in recard_status %} {% if record.status == choice.0 %} {{ choice.1 }} {% endif %} {% endfor %} </td> </tr> {% endfor %} </tbody> </table> </div> </div> </div> </div> </div> <!-- 全局js --> <script src="{% static 'js/jquery.min.js' %}"></script> <script src="{% static 'js/bootstrap.min.js' %}"></script> <script src="{% static 'js/plugins/jeditable/jquery.jeditable.js' %}"></script> <!-- Data Tables --> <script src="{% static 'js/plugins/dataTables/jquery.dataTables.js' %}"></script> <script src="{% static 'js/plugins/dataTables/dataTables.bootstrap.js' %}"></script> <!-- 自定义js --> <script src="{% static 'js/content.js' %}"></script> <!-- Page-Level Scripts --> <script> $(document).ready(function () { $('.dataTables-example').dataTable( { "order": [[0, 'desc']] } ); }); </script> </body> </html>
 -


